Ingredients
1 cup buttermilk
8 tablespoons butter, cut into pieces and divided
2 tablespoons honey, or malted barley syrup
340g active starter
2 large eggs at room temperature, lightly beaten
400g all-purpose flour (you might need a little more)
100g potato flakes (or potato flour, but they won’t be as good)
1 1/2 teaspoons salt
Method
- Make sure your starter is well-fed and active before embarking on this recipe.
- In a small saucepan, heat the buttermilk, 4 tablespoons of the butter, and the honey on low until the butter melts. You want it it no hotter than bath or hottub temperature (~100F).
- In a large bowl, combine the starter, warm buttermilk mixture and eggs and mix until combined.
- Add the flour, potato flakes, and salt. Mix thourougly. You want a soft, shaggy dough. It will be a bit sticky, but not runny. Add a little more flour if necessary to achieve the correct consistancy. Knead it as much as possible in the bowl until it comes together.
- Cover the bowl with plastic wrap and a kitchen towel and let it rest in a warm place for 15 minutes.
- After 15 minutes, give it a round of stretch and folds: Wet your hands and fold the dough by picking up one side of the dough from underneath with your two hands, stretching it up and folding it over on the rest of the dough. Do this on all four sides. I turn the container each time. When you have completed your folds, flip the dough over, cover and rest for another 15 minutes.
- After the next 15 minutes is up, repeat the stretch and fold process, cover and rest for another 30 minutes.
- After that 30 minutes is up, repeat the stretch and fold process, cover and rest for another 30 minutes.
- After that 30 minutes is up, repeat the stretch and fold process, cover and rest for another 1-2.5 hours, until it is doubled in volume. Time will depend on the strength of your starter and the temperature of your kitchen.
- Once the dough has proofed and is light, fluffy and, doubled in size, it’s time to shape your rolls.
- Melt and slightly brown the remaining 4 tablespoons of butter.
- Brush a standard rectangular ceramic or glass baking dish with butter on the bottom and sides.
- Cut the dough into equal 12 equal pieces. I weigh all the dough and divide by 12, then weigh out equal portion.
- Lightly dust your work area, and your hands, with potato starch. One by one, form balls of dough of each dough portion: Place your entire hand over the dough portion and cup it, turning in a small circular motion until the ball is formed. Set aside until they are all done.
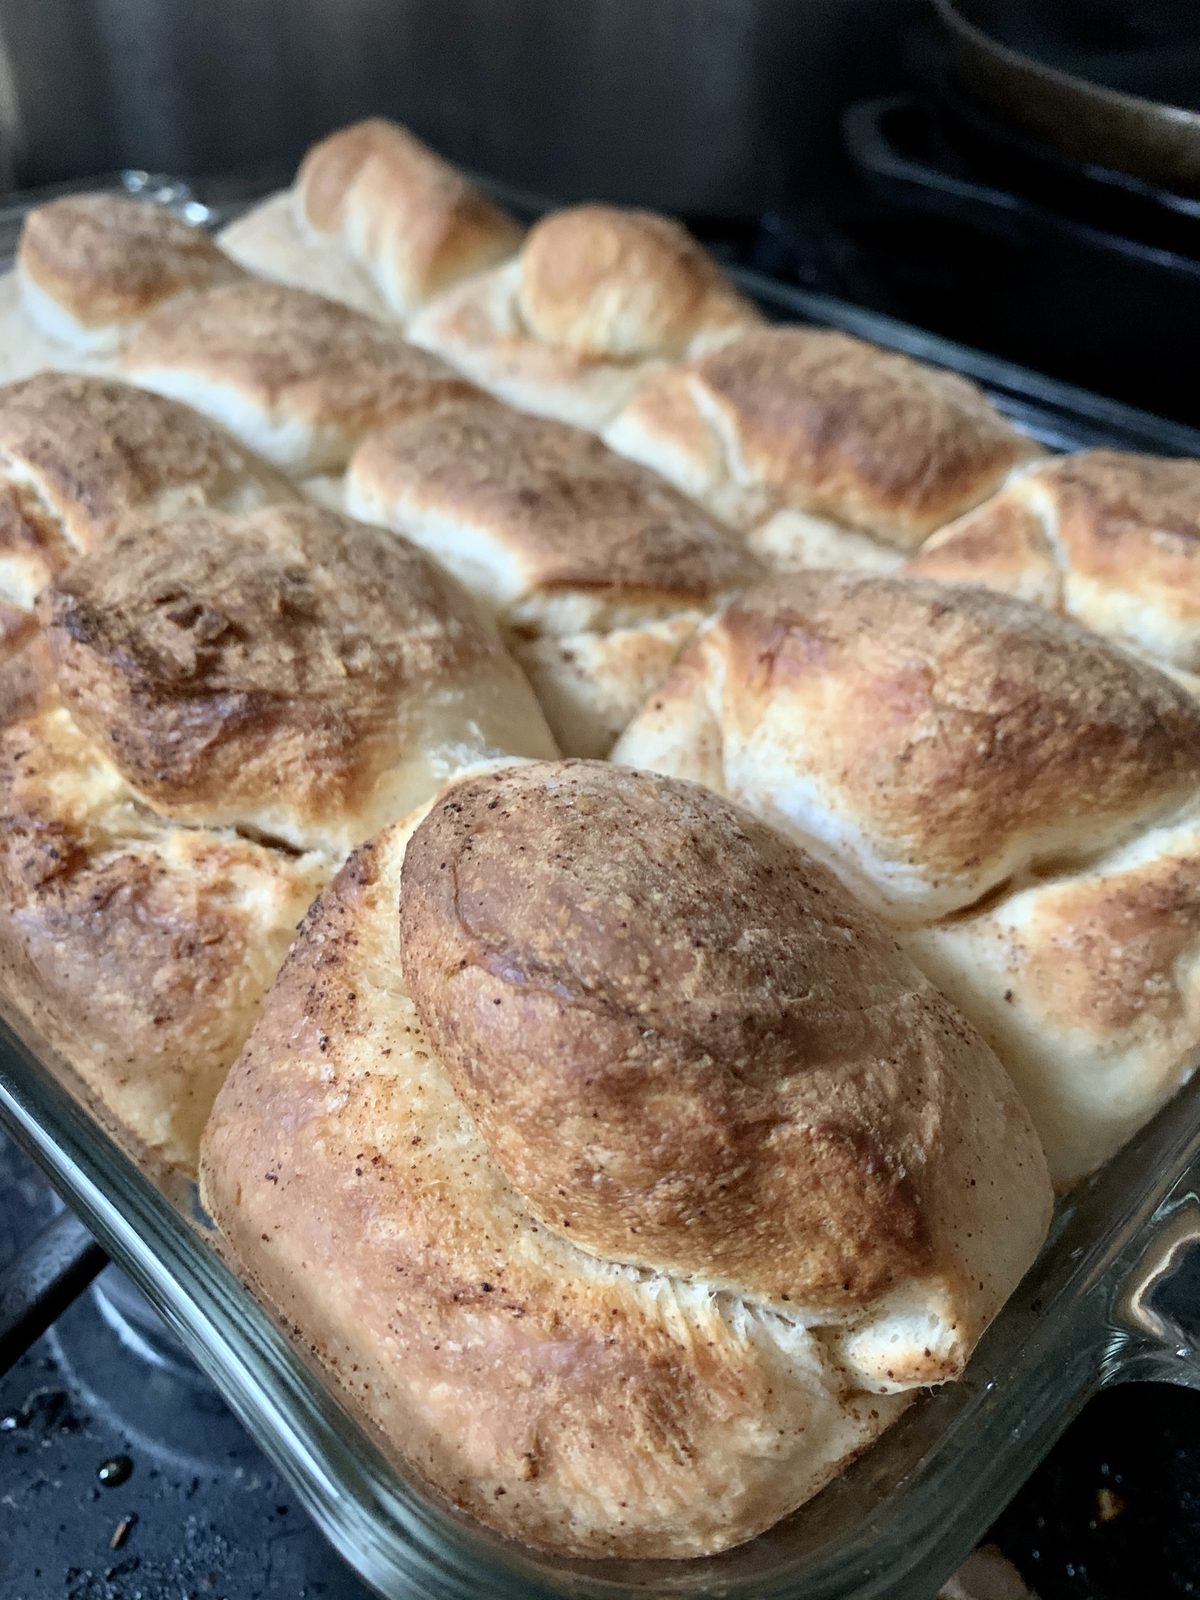
- Working on the first dough ball formed to last, slightly flatten it out with your hands to approx 5X3“ brush with melted butter, and fold over so they are approx 2-1/2“ X 3“. Place on buttered baking dish in a 3 rows of 4, lenthwise.
- Once all your rolls are completed, gently give them a pat so they are all nestled in closely together. Coat the tops with a little melted butter. Cover with plastic and a towel and proof in a warm spot 1-2 hours until they are puffed.
- Test for proofing, by performing the proofing poke test: Use your index finger to poke the side of one of the buns, making a small indentation. If the dough bounces back by 30 seconds, and the indentation disappears, you need to continue proofing. The dough has proofed correctly when the dough bouces back 1/2 way, but still leaves the indentation visible.
- Pre-heat your oven to 450F.
- When your rolls have passed the proof test, brush them with a more butter, and send them into the hot oven. Immediately turn down the heat to 400F and bake for 15 minutes.
- Turn down the heat to 350F and bake for another 5-10 minutes. Rolls should be puffed and lightly browned.
- Brush with the remaining butter when they come out of the oven and serve warm.
- Enjoy!