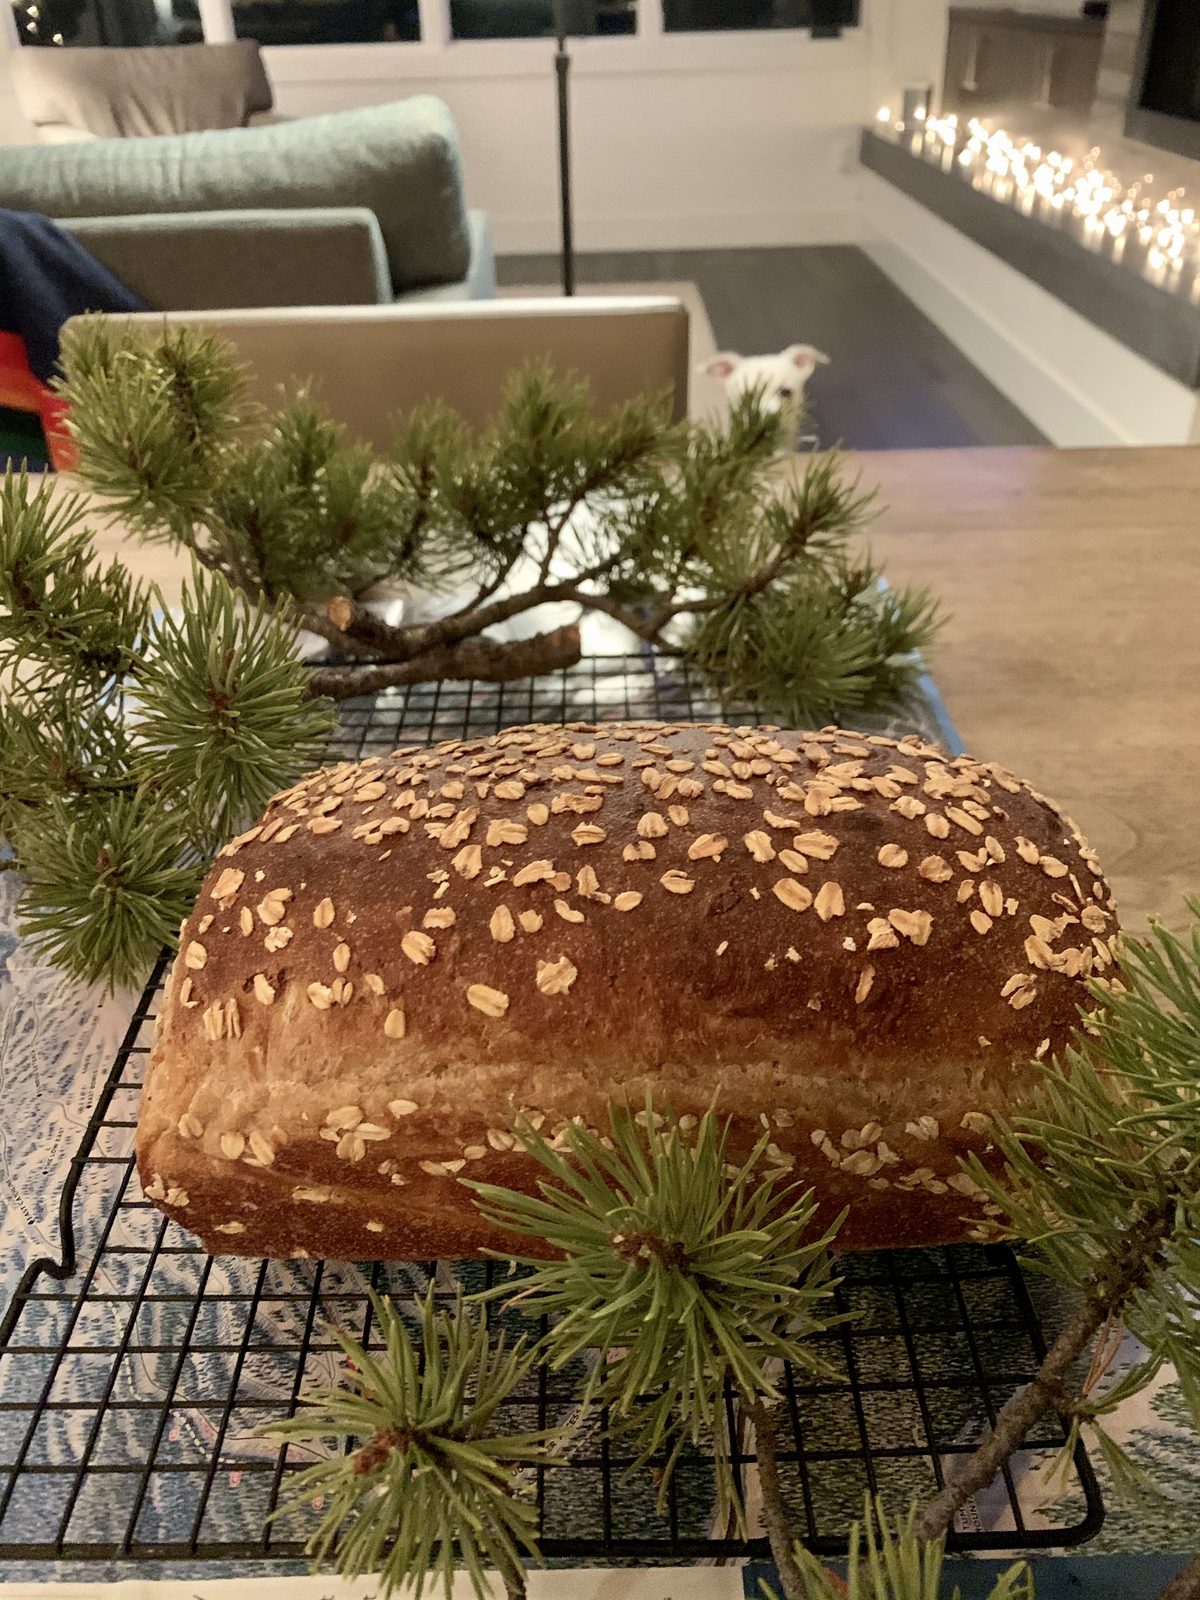
Ingredients
90g active starter
250g + 100g water, separated
200g bread flour
140g whole wheat flour
50g oats
30g honey
20g olive oil
15g salt
additional oats to sprinkle on top
Start your process in the morning to bake in the afternoon.
Method
- The day before, make sure your starter is fed: Take your starter out of the fridge and feed it the night before you are making your bread. Or you can feed it the moring of, to bake in the evening.
- In a large bowl, combine the fed starter, 250g of water, bread flour, and whole wheat flour. Mix until well combined. Cover in plastic wrap, and set aside.
- Put a small saucepan on your scale and measue out the oats, the remaining 100g of water, the honey, olive oil, and salt. Place it over low to medium heat, stir with silicone spatula, and cook over low heat for about 2 minutes, until the water is absorbed by the oats. Remove from heat, and let it cool to room temperature.
- Once the oat mixutre has cooled, add it on to the dough and mix briefly with your hands.
- Get your workspace ready with a small bowl of water near by— you will need this during the kneading process.
- Remove the dough from your bowl and knead for 5-7 minutes. The dough will start out fairly easy to knead, but will get extremely sticky after a couple minutes. Here is what I have found to be the best way to deal with it once it gets to the sticky stage:
- Wet your hands.
- Lift the dough with one hand, with the other hand sprinkle some water and wet your work surface.
- Keep hands moistened with a little water and continue to knead. When the dough starts to stick to your bench, add a little more water. Think of the water as you would flour.
- Keep kneading for a total of 5-7 minutes. It’s difficult to assertain when to stop, but just set a timer and keep going until it’s up.
- You can also use a bench scraper or bowl scraper to help with the kneading process.
- Do not attempt to use flour. It will make the stickiness worse.
- Put the kneaded dough back into your bowl, cover with plastic, and leave in warm spot for 15 minutes.
- After 15 minutes, give it a round of stretch and folds: Wet your hands and fold the dough by picking up one side of the dough from underneath with your two hands, stretching it up and folding it over on the rest of the dough. Do this on all four sides. I turn the container each time. When you have completed your folds, flip the dough over, cover and rest for another 15 minutes.
- After the next 15 minutes is up, repeat the stretch and fold process, cover and rest for another 30 minutes.
- After that 30 minutes is up, repeat the stretch and fold process, cover and rest for another 30 minutes.
- After that 30 minutes is up, repeat the stretch and fold process, cover and rest for another 60 minutes (1 hour).
- After that hour is up, repeat the stretch and fold process, cover and rest for another 60 minutes (1 hour). Cover and let you dough proof for about 1 hour until light, fluffy and, doubled in size from the original dough size.
- Now that your dough has risen to double in size, you can shape it.
- Line your loaf pan with parchment. I do this in 2 pieces, one lengthwise, one crosswise. You want it to go all the way up the sides with some overhang. That will help you to lift it out after it bakes. Lighly spray or brush some oil on the parchment.
- Gently loosen the dough and dump it out onto a lightly moistened work surface. Now be careful so you don’t deflate it too much! With wet hands, gently work to open the dough. Place your hands under the dough and gently pull it and stretch it open from the middle working out. Try to create a uniform rectangle — the width of which should be the same as the length of your loaf pan. Don’t stress too much about making it perfect. Better to not overwork the dough.
- Now, working from the end away from you, towards you, roll up your dough, giving it a bit of a stretch with each roll to make the rolls tight. Again, with moistened hands, very gently lift it and transfer it to your prepared pan, seam-side-down. I do this with palm facing up and fingers apart, gently nudging four fingers of both hands under each end of the loaf log. Then lift and place into the prepared pan. Generously sprinkle oats on top.
- Cover, somewhat loosly, with plastic, set in a warm spot, and allow it to rise all the way to the top of the pan, touching the plastic.
- When your bread is ready to bake, pre-heat oven to 500F.
- NOTE: Be very gentle moving your proofed loaf and when removing the plastic. It will deflate easily. Keep it as steady as possible, and disturb the loaf as little as possilbe. I use scissors to cut the plastic wrap off vs trying to unwrap it. Imagine your loaf as a sleeping infant you are transfering from carrier to crib and you do not want to wake it!
- Carefully and gently place your bread in the hot oven, close the oven door, and turn the heat down to 475F. Bake for 20 minutes, then turn down the heat to 400F and bake until your instant read thermometer reads 207F when inserted into the center. (Poke from the side; you don’t want to ruin the look of your loaf crust 😉.)
- Remove from the oven, use the parchment overhang to lift the loaf from the pan and set the loaf on a cooling rack.
- Cool completely before cutting.
- Enjoy!