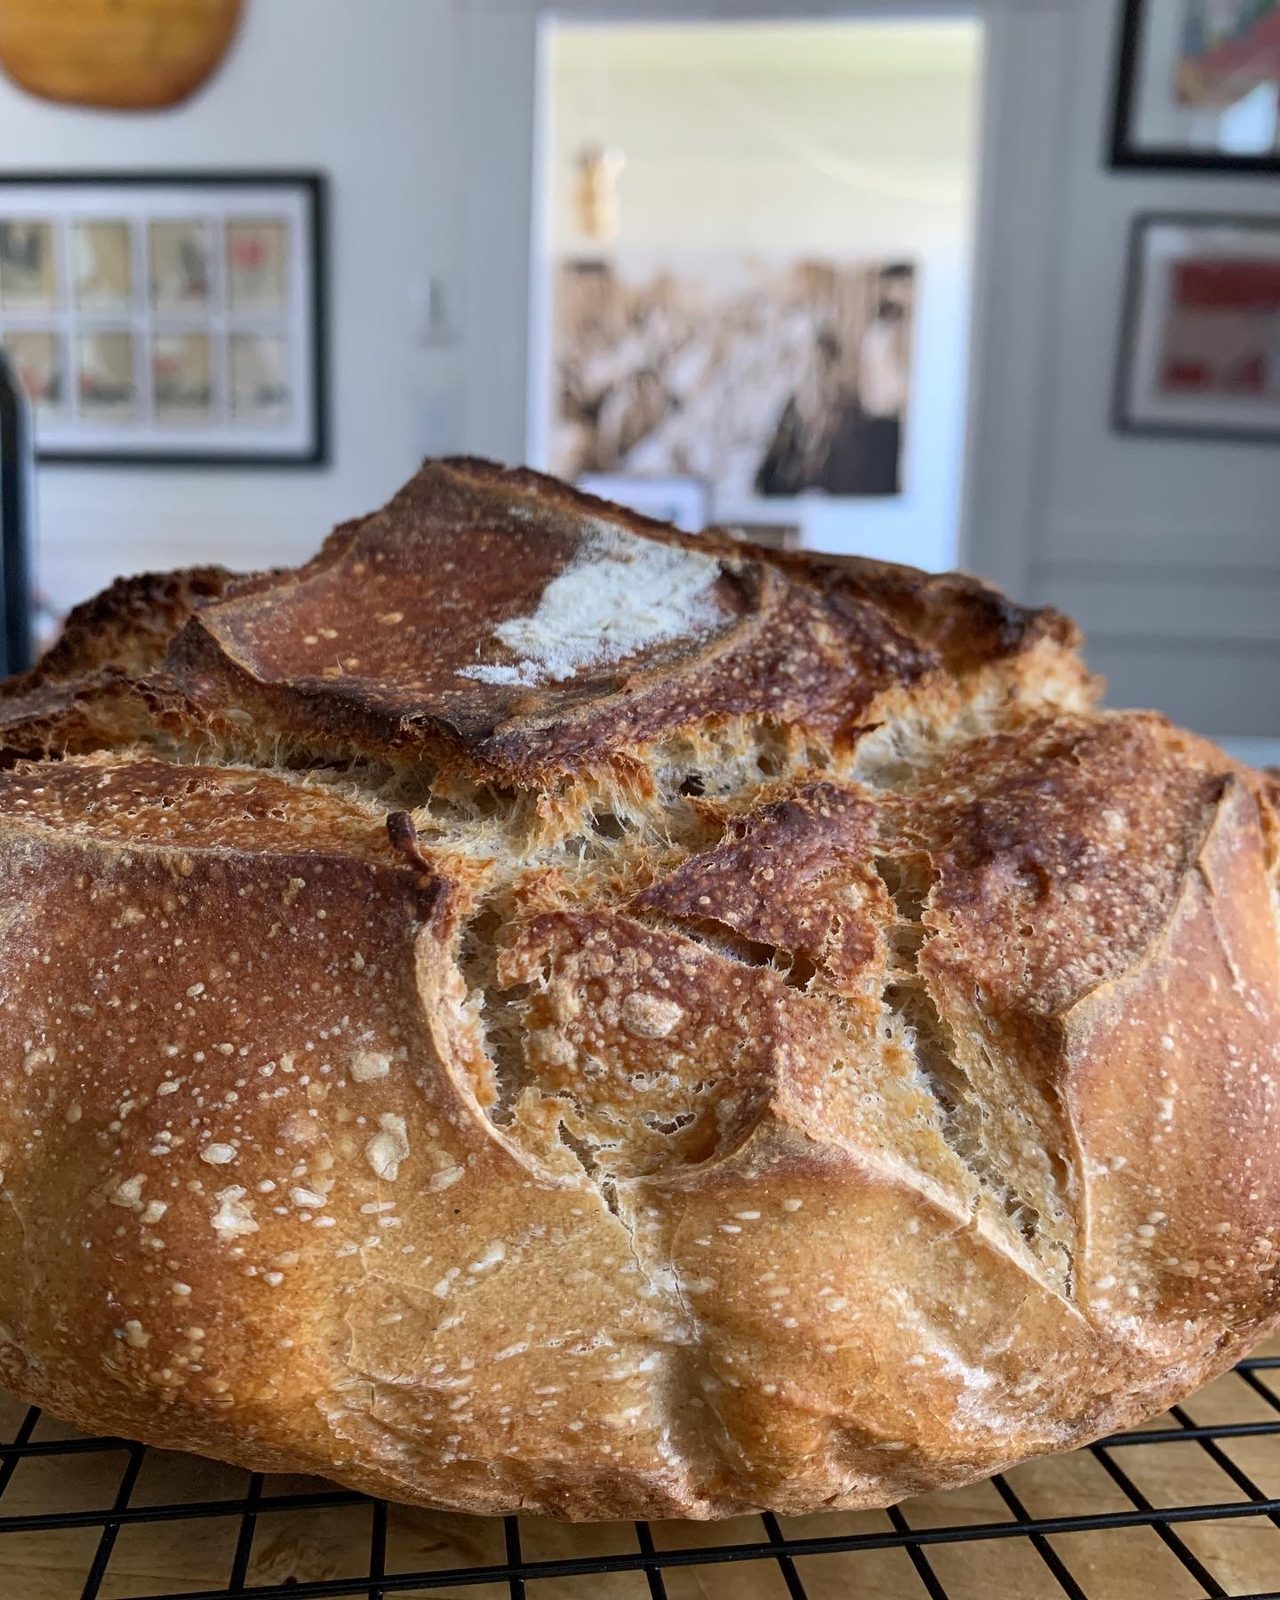
Ingredients
50g sourdough starter (ideally at room temperature and fed in the last few days)
375g water (or whey from ricotta is preferable)
375g bread flour
125g other flour (such as whole wheat, spelt, rye, etc, or just use more bread flour)
10g salt
You want to time the start of your process based on when you want to bake your bread. If you want to bake in the morning, start it in the morning, if you want to bake in the evening, start in the evening.
Method
- Take your starter out of the fridge and feed it Tuesday. Leave it out on your counter until we bake on Wednesday.
- Get 375g of your whey from ricotta-making to room temperature or slightly lukewarm. (Or use water)
- Mix together all the ingredients in a large container with a cover (see through is ideal), or a large deep bowl you can cover in plastic wrap. Use your hands and when all ingredients are mixed well asses for moisture level. You want a shaggy, rather moist dough. If you need to add more water or if it’s too wet, add a little more flour.
- Once mixed, cover your container and rest the dough for 15 minutes.
- After 15 minutes, wet your hands and fold the dough by picking up one side of the dough with your two hands, stretching it up and folding it over on the rest of the dough. Do this on all four sides. I turn the container each time. When you have completed your folds, cover and rest for another 15 minutes.
- Let it sit for 10-15 minutes.
- Repeat the process in step 3, three more times, for a total of four times. After your four folding sessions, cover the container and place your dough in a room temperature spot and let it sit, undisturbed, for 8-12 hours.
- AFTER 8-12 HOURS Get your proofing bowl or basket ready. If using a bowl, generously rub flour into a dishtowel and drape in the bowl. You will place your shaped loaf into the floured dishtowel so it won’t stick.
- By now your dough will have doubled in size or maybe gotten even bigger. Remove your dough from the container, deflate it, and shape it into a ball. Place the ball seam-side up (you want the nice rounded side in the bottom since this will be your top) into your proofing bowl or basket. Fold the ends of the towel over the dough and cover the whole thing in plastic wrap. Place it in the fridge another 10-12 hours.
- AFTER 10-12 HOURS Place your empty, covered, dutch oven in the middle rack of your oven and heat your oven to 500F. Take your loaf out of the fridge. Let it sit on the counter, still in the proofing bowl or basket, for one hour, as you heat your oven.
- After your oven and Dutch oven have been heating at 500F for one hour, un-mold your loaf onto a piece of parchment paper.
- Use a very sharp blade to score the top of your loaf. Be creative. Score deeply —about 1”—for the best crust.
- Remove your Dutch oven from the oven, take the lid off and transfer the loaf on the parchment by lifting the ends of the parchment and placing it into your dutch oven. Leave the parchment underneath the loaf. Put the cover back on your Dutch oven (it’s ok if the paper sticks out) and put it back in the oven. Lower the oven temp to 450F and set a timer for 25 minutes.
- After 25 minutes, remove the Dutch oven cover and continue to bake your loaf for another 20 minutes until deep golden brown.
- Remove your loaf from the oven and the pan and place on a cooling rack for one hour before cutting into it.
- Enjoy!